
Is your car showing some odd symptoms like coolant leaks or strange sounds?
You might think that the obvious culprit behind these signs is a faulty thermostat but that’s not the case always.
Try testing the thermostat with a multimeter before you get it replaced.
Here’s everything you need to know about how to use a multimeter to test your car’s thermostat.
The Types of Multimeters You Can Use
Before we begin, what exactly is a multimeter?
Multimeter stands as a versatile tool that is used to measure current, electrical resistance, and voltage.
It’s a basic tool that you can find in most households.
If you’re unsure about whether a house appliance is faulty or not, you can simply check the resistance within a circuit to confirm your suspicion.
Similarly, that’s exactly what you can do to test your car’s thermostat as well.
It’s likely that you might have come across ads for two different types of multimeters: Digital and Analog.
Both come with their own set of pros and cons, but the main difference between the two types of multimeters is how the results are displayed.
It can be used for checking different appliances and items.
The list includes checking batteries, extension cords, household appliances and even rooting out bad switches.
It’s a versatile tool both for testing and diagnosing different electrical appliances.
Which Multimeter Works Best?
There’s no difference between the two types of multimeters. The choice of deciding which one to use simply falls to personal preferences.
Most newbies would however find it difficult to read analog multimeters. Moreover, digital multimeters have been found to give more accurate results.
Hence, that’s the ideal choice for anyone working on their car.
How To Use a Multimeter?
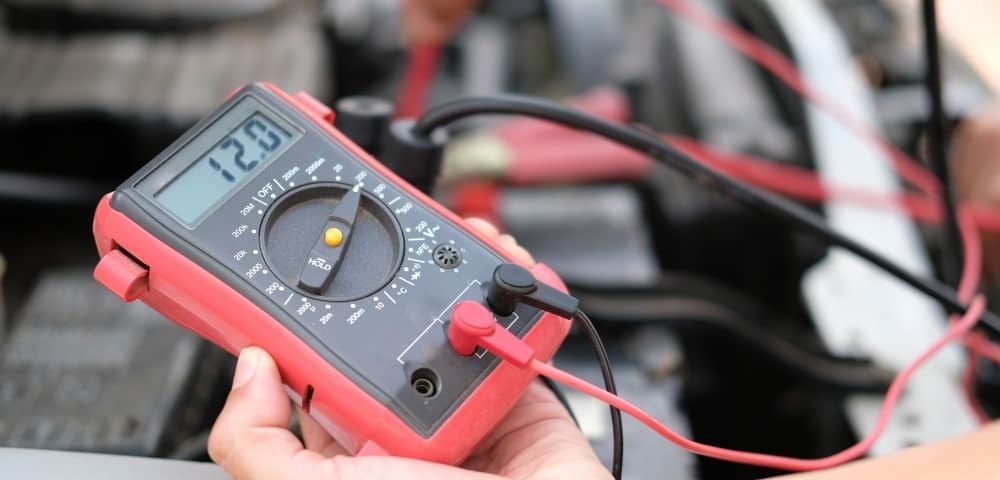
Despite the numerous buttons, complex language, and unique symbols on a multimeter, reading it is very easy.
Typical multimeters are divided into 4 parts: the first is the display, the second is all the buttons, the third is the dial, and finally, the input jacks.
The purposes of these parts are fairly obvious.
The buttons let you select different functions; the dial lets you switch between measurement values while the input jack is where a test lead is attached.
It’s through the test leads that act as a conductor between the tested item and the multimeter. The red lead is positive while the black is negative.
Understanding the Symbols
The dial comes in three categories: voltage, current, and resistance. Voltage also has two subcategories termed AC and DC voltage. Remember the following symbols.
- V for Voltage
- A for current (Amperes)
- Ω sign for Resistance (Ohms)
The dial moves between different settings and ranges for the three categories. Each unit for the categories comes with its set of prefixes. The following explains what they stand for.
- K for Kilo (1000x)
- M for Mega (1 million)
- M for Milli (1/1000)
- (µ) for Micro (One millionth)
Now, combine them all and you’ll understand how to read a multimeter.
- mV = millivolts
- kΩ = kilo-ohms
- µA = micro-amps
Reading The Multimeter
The display will show the numbers as per the selected prefixes.
To read the number shown by the display, start by first identifying what you are measuring.
If you’re measuring voltage, consider if you’re measuring AC or DC. Remember that for most home appliances, you’ll most likely be measuring AC voltage.
But on the other hand, any battery-powered electrical device will most likely give results in DC voltage.
The second stage involves switching the dial to the appropriate symbol.
Consult the manual that your multimeter came along with. insert the black lead into the COM outlet while plugging the red lead into the lead marked for voltage.
Switch the setting of the selector switch depending on what you are measuring.
Remember that the mV is the lowest setting, to begin with.
Power up the receptacle of the device you’re testing and touch the black lead to one side of the terminal while touching the red lead to the other.
You’re good to go!
The numbers you get are the voltage that the test device has.
How To Test a Car Thermostat with A Multimeter?
Now that you know about the multimeter, it’s time to work on testing your car’s thermostat. You don’t need a lot to begin besides a multimeter.
Follow the guide below to test the thermostat.
Step 1: Finding the Thermostat
First off, start by locating the temperature sensor of your car.
The location of the thermostat in most cars is near the upper radiator hose.
Simply follow the hose until you come across it. Remember to work with safety equipment and after keeping the car idle.
If not, you’ll be at risk of getting hurt by the heat.
Step 2: Conducting the Test
You’ll start conducting the test by measuring the resistance value of the coolant temperature sensor.
Compare whatever number you get with the recommended number in the manual. Keep running the test occasionally and record the numbers down.
Moreover, keep our car ideal and set the transmission at neutral before checking the resistance figure as well as the temperature of the engine.
Step 3: Interpreting the Values
Once you have all the numbers written down values for your reference, cross-check the figures against the recommended range from the car’s manufacturer.
You can even look online and ask around what the hot and cold readings for your car will be.
If there’s a lot of deviation, then your best bet is that the thermostat isn’t working properly.
Are There Other Ways You Can Test Your Car’s Thermostat?
There are many ways you can test your car’s thermostat.
One way involves visually checking the coolant flow to see whether the thermostat has opened after you’ve put the car on idle.
Conclusion
A multimeter is a versatile device that can be used to check an electrical circuit for troubleshooting problems.
A multimeter may seem complex to use but once you understand what the various symbols represent, you can easily use and interpret the readings you’ll get.
One use of the device involves testing the thermostats of cars.

 Tire Forge